I am HIGHLY attractive ♥ to mosquitos and other biting bugs – how nice – so I went on a mission to find the BEST way to stop the scratching… and this is what I found …
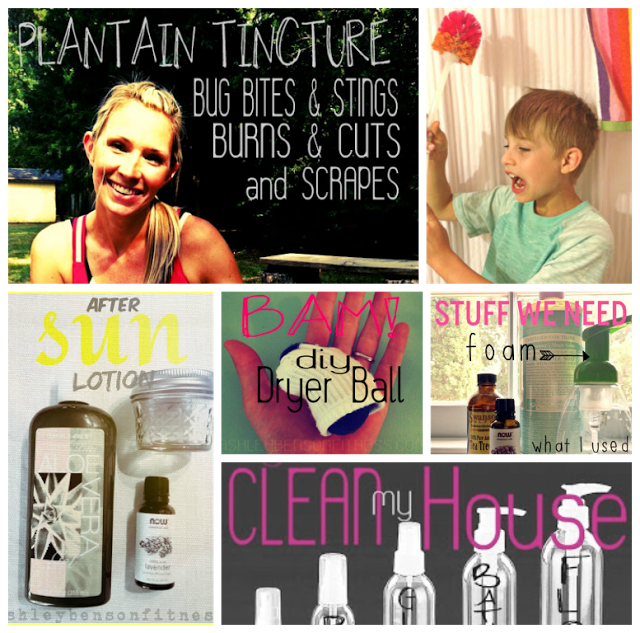
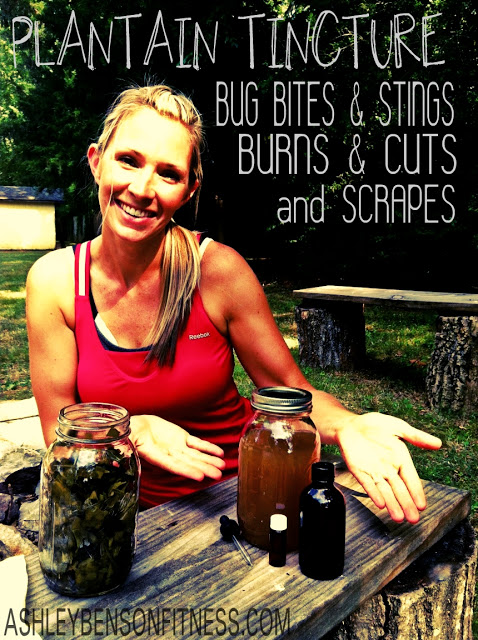
PLANTAIN TINCTURE
the BEST “itch medicine” I have ever used.
And I made it from my back yard!!
Plantain is an herb, often thought of as an ugly, annoying weed that grows in almost everyone’s yard. After learning about this and using it, I promise you will change your opinion about it and want to harvest it! In North America, the Native Americans use plantain to heal bites of all kinds: snake bites, venomous creatures, rattle snake and even mad dogs bites. It is a “drawing herb” meaning that it pulls out toxins, infections and other foreign substances from the body.
I make this plantain tincture and keep it close to relieve the pain and itch from bee stings, insect and spider bites, poison ivy, and if ever needed, a snake bite. In the case of a snake bite, I would apply the tincture and then seek medical attention. This herb is known as “Nature’s Eraser” I have noticed when using it on mosquito bites and bee stings, it doesn’t just temporarily relieve the symptom, but it heals the spot! I love this stuff and hope you will try it.
- A bunch of plantain leaves
- A glass jar with a lid
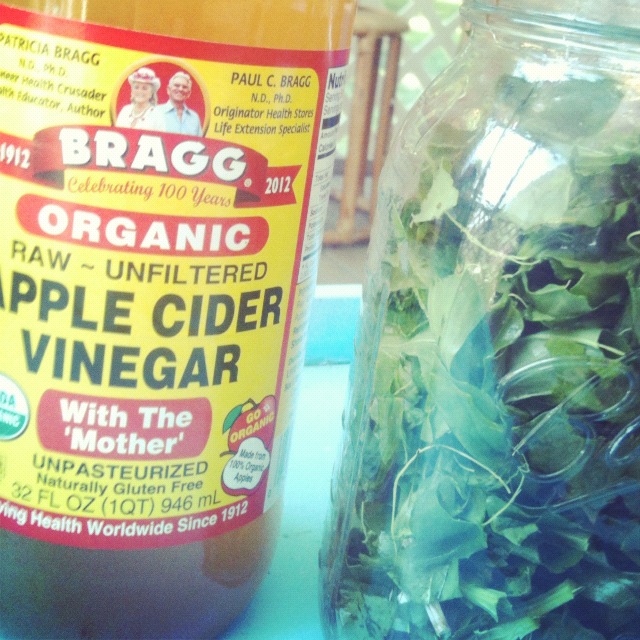
- Organic Apple Cider Vinegar
- Cheesecloth or a clean, white T-shirt
- Dark glass bottles for storage
MAKE IT!
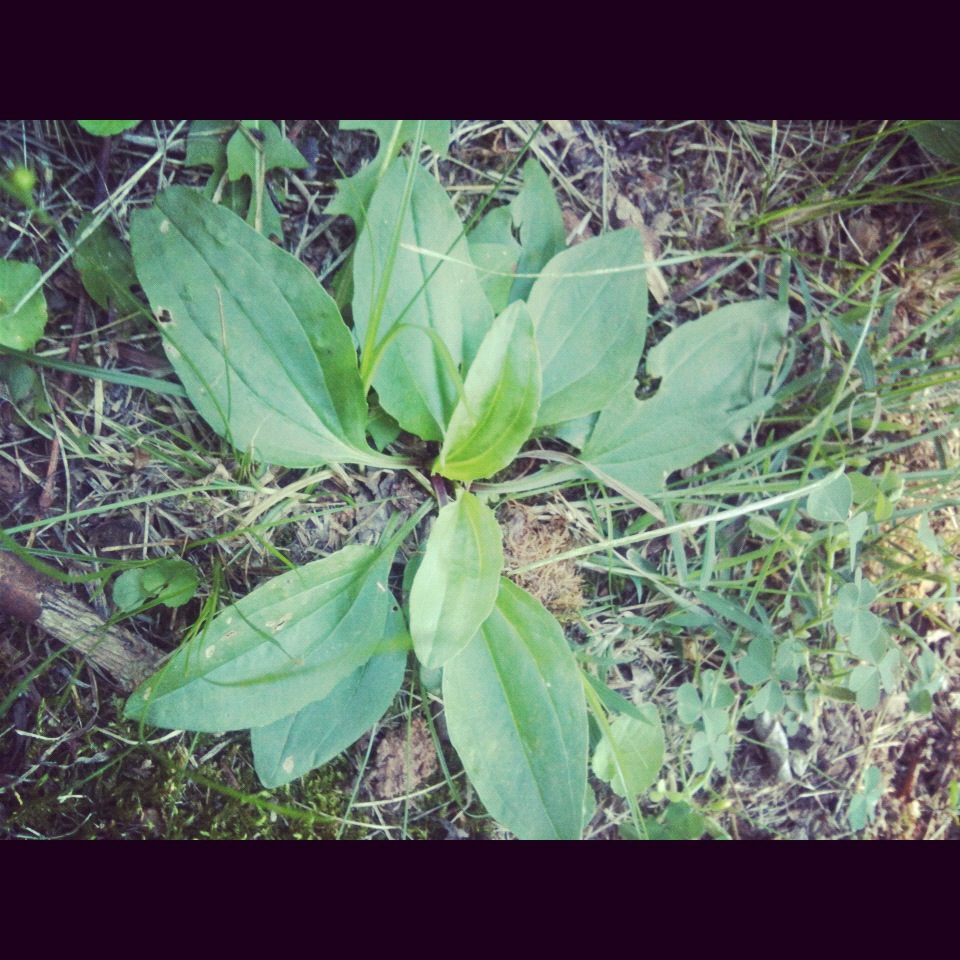
1. Go explore your yard, or your neighbor’s if you keep yours in pristine condition 🙂
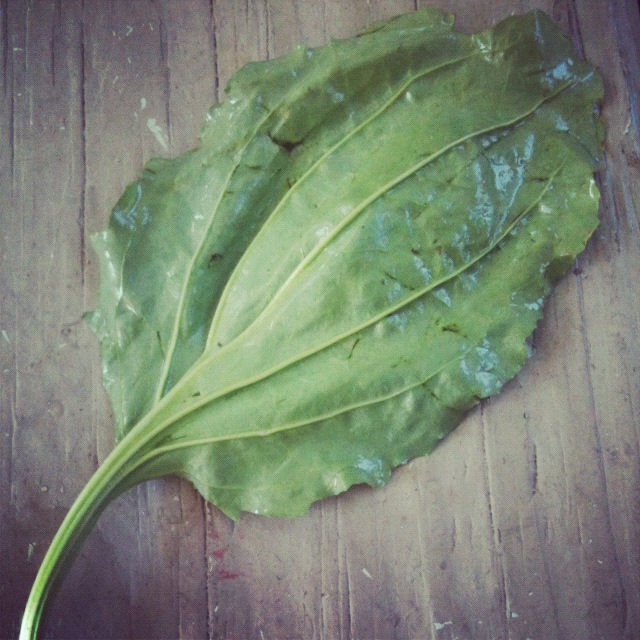
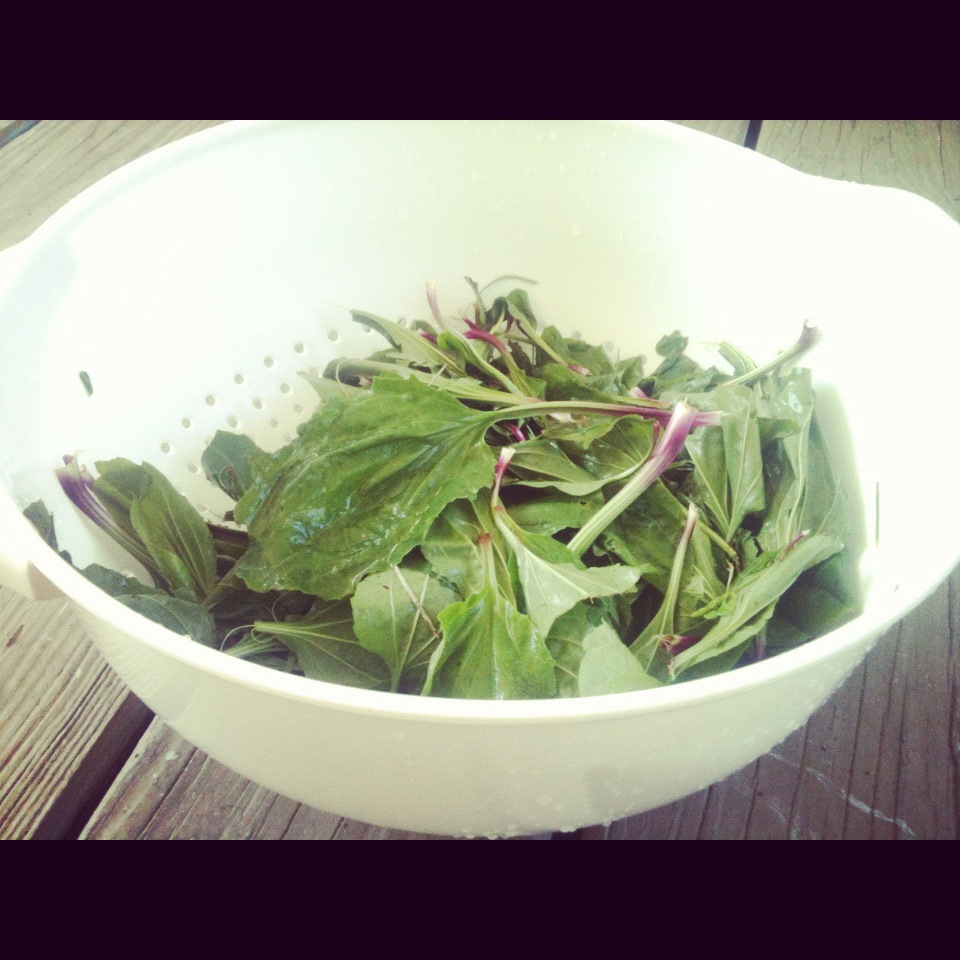
This is what it looks like.
The leaf is smooth and has veins on the underside.
2. Gather up a bunch of the leaves and then wash them.

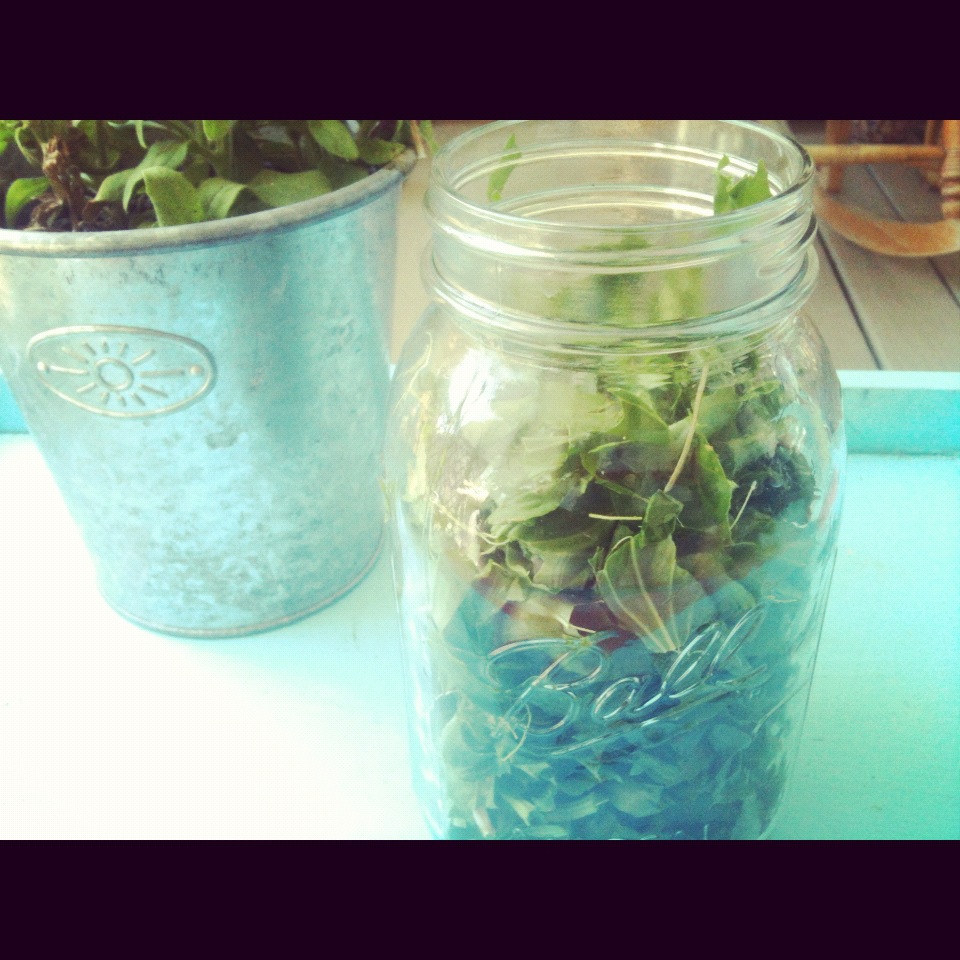
3. Tear the leaves and make sure to bruise them.
I usually twist them tight, and then tear.
You can even crush them with the bottom of your jar.
4. Put the leaves in a jar that can be sealed.
5. Pour Organic Apple Cider Vinegar over the leaves
until they are covered.
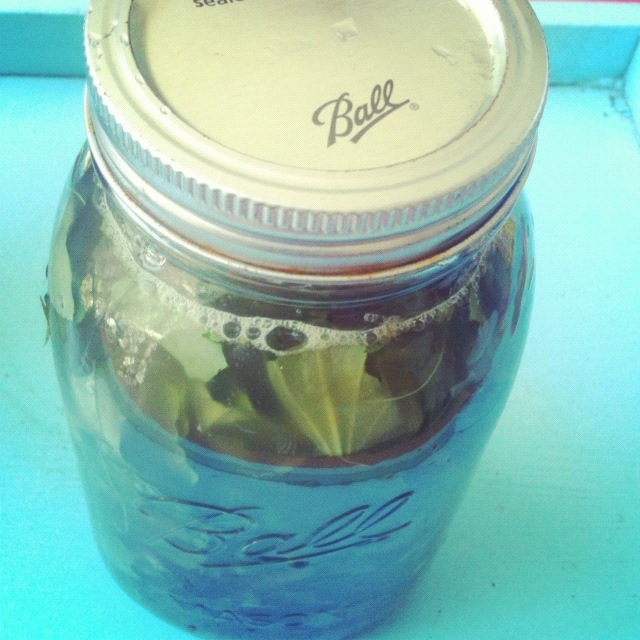
6. Store in a cool, dark place for 2 weeks.
You will need to shake the jar once a day.
TWO WEEKS LATER…
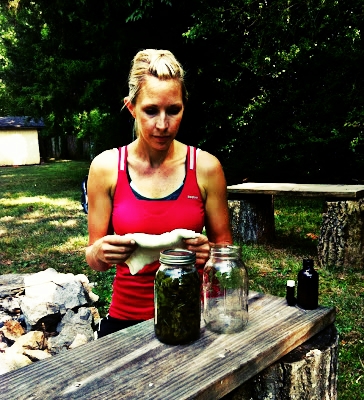
Grab your tincture, a clean container,
and your cheesecloth or white t-shirt.
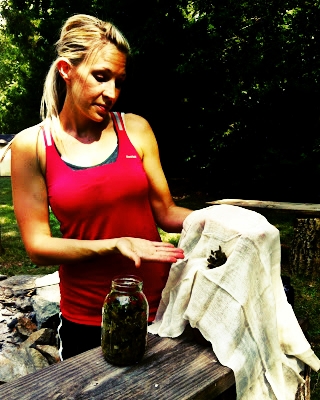
Put your cloth over the top of the jar to strain the leaves.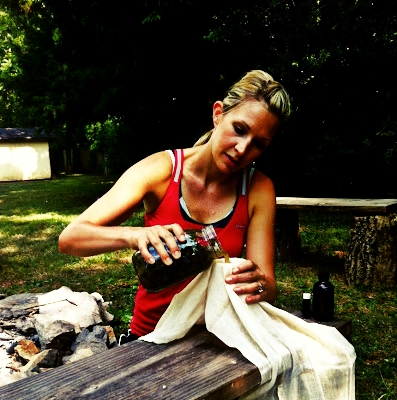
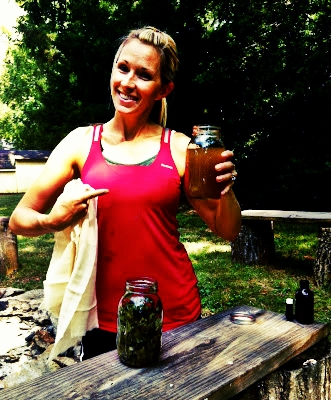
Now you can discard the leaves and you are left with an
AWESOME tincture!
I like to have a large storage container to keep the tincture stored in the refrigerator (should be labeled :)),
a smaller one to keep in the first aid kit,
and a purse size to have with me at all times.
Store in dark bottles to retain its potency for much longer period of time.
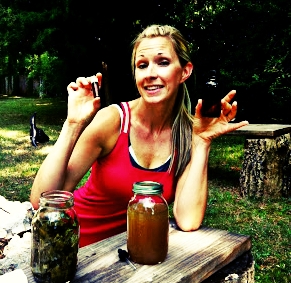
You can use a dropper to get it in to the smaller containers.
Try it out and let me know what you think!